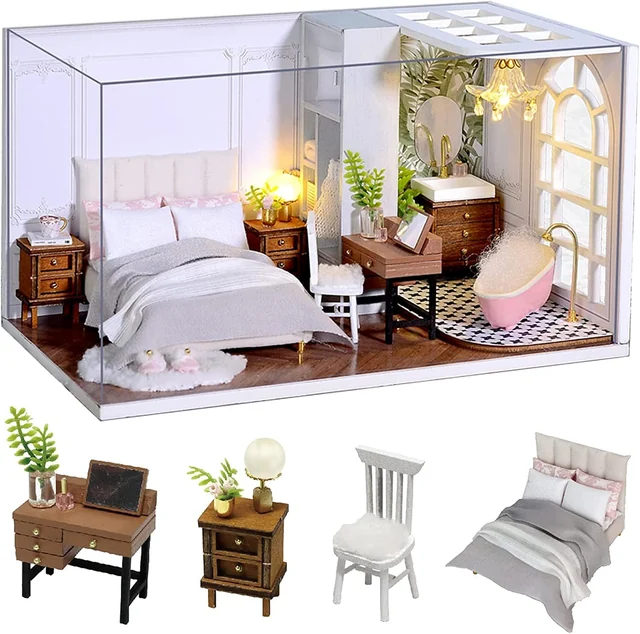
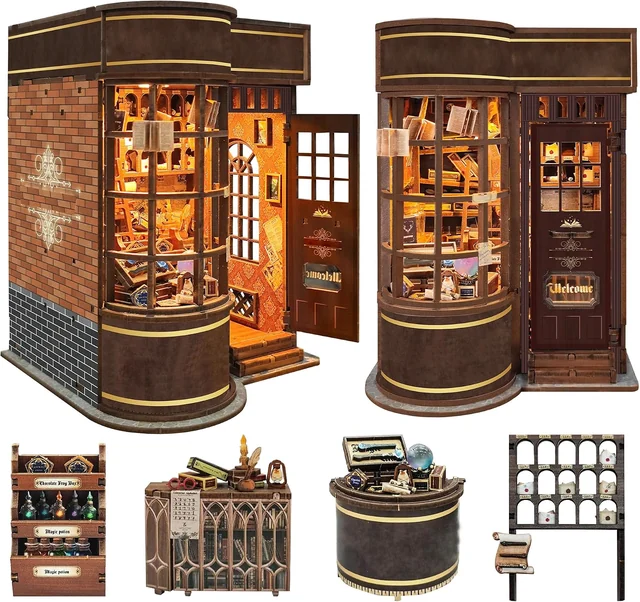
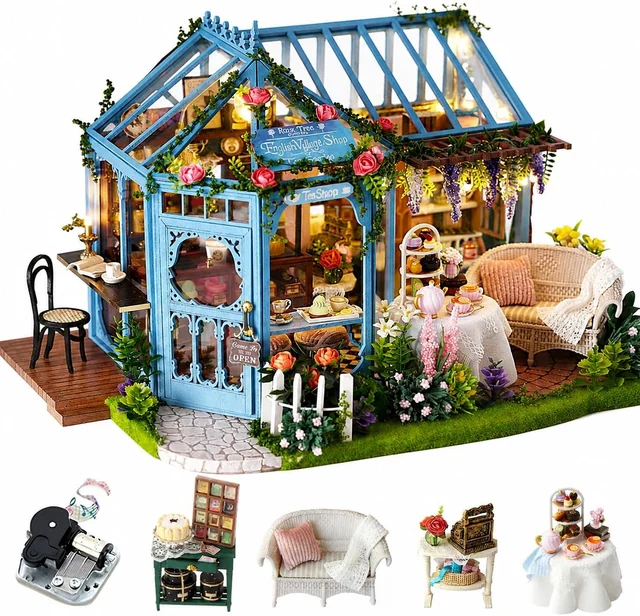
Display a miniature where you can see its best details, reach its controls and lift it safely from the base. Give the scene enough space to read clearly, then plan for dust, daylight and everyday movement around the shelf. A thoughtful position lets the work you put into the build remain visible.
A CUTEROOM book nook, miniature room or dollhouse can become part of a reading corner, a desk arrangement or a dedicated collection. The right setup depends on the model's shape and your room. Begin with the actual finished object, including any parts that project beyond the base, rather than assuming the package dimensions describe the display.
Measure the whole display, including access
Record the finished width, depth and height. If you use a cover, record its outside measurements separately. Then measure the shelf's usable area, allowing for a front lip, a door frame, a back panel or any cable space. A nominal shelf depth can be misleading when a raised edge reduces the flat area available to the base.
Check how the model will enter and leave the space. A cabinet opening may be smaller than its interior. A shelf above the scene may allow enough room for the model but not enough room to lift off the cover. You should be able to remove it deliberately without tilting it against neighboring objects.
Make a paper footprint before rearranging heavy books or ornaments. Place it on the shelf and test the composition from your usual viewing position. If the miniature is still under construction, a simple cardboard outline can help you judge its height. Keep this mock-up clear of lamps and other sources of heat.
Reserve access to switches and battery compartments where they are present. A scene that needs to be fully dismantled from its shelf arrangement for every lighting change will be inconvenient. Position the model so you can reach the intended access points without pressing on furniture, plants or delicate wall details.
Think of clearance as working space rather than wasted space. A little room beside a model can make it easier to grip the base securely. It can also prevent a neighboring book from rubbing against the exterior when it is removed. The most practical display is one you can maintain without an elaborate moving procedure.
Find the scene's strongest viewing angle
Set the miniature on a clear table and look at it from several heights. Begin near the intended front, then move slightly left and right. Notice which details remain visible and which disappear behind walls or furnishings. Use this observation to choose a shelf height rather than automatically placing the model at eye level.
A narrow book nook often depends on the view through its opening. If it sits too low or too high, you may see mostly the floor or top edge instead of the interior. A more open mini room may allow a broader view from above. The actual composition should guide the decision.
For a larger dollhouse display, decide whether one side is the principal view or whether several sides deserve access. A model with interesting side details may work better on a wider surface than tightly between objects. Do not rotate it casually by pushing a wall; lift and reposition it from a stable base.
Try the location while seated if the model will be near a reading chair or desk. The best standing view may be irrelevant to how you usually use the room. Similarly, a hallway display should be legible from a passing glance, while a personal craft shelf can reward a much closer look.
Take a quick photograph from the normal viewing position. A phone screen can make it easier to notice that a lamp blocks the opening or that a bright object behind the model competes with it. Use the picture as a composition check, not as a reason to change the miniature's accurate colors.

Style a bookshelf around a book nook
Choose the books around the scene for both stability and appearance. Their covers and spines can support the mood without needing to match every color. A small group with a quieter palette gives a detailed miniature more room to be noticed. A mixed shelf can work equally well if the opening remains clear.
Do not assume the miniature can function as a load-bearing bookend. Use suitable book supports where needed, and prevent a leaning row of heavy books from pressing against the model. The scene should occupy its own space rather than act as the structural support for the shelf arrangement.
Bring the opening forward enough to see it, while keeping the full base securely supported. Avoid allowing the front edge to project beyond the shelf simply for a stronger photograph. Check the model from the side after arranging the books so you can see whether the base is fully on the surface.
For CUTEROOM Magic House, the curved storefront and small interior objects offer a clear focal point. Arrange surrounding books so they do not conceal that front view. Bear Bakery suggests a different visual pairing: a shelf of cookbooks or a reading corner where a bakery scene feels at home. These are styling ideas, not requirements for either kit.
Leave a small practical gap where you reach for frequently used books. A scene beside a reference book you remove several times a day is more likely to be bumped than one beside occasional reading. You can keep the display integrated with the library while moving the busiest books one shelf away.
If you change your shelf often, photograph the arrangement you like before moving it. The image records spacing and height without requiring marks or tape on the miniature. It also helps you notice whether a new stack of books has begun to obscure a detail you originally wanted to show.
Compose a room display without crowding it
An open miniature room already contains a dense arrangement of small objects. The surrounding shelf does not need to repeat that density. Start with the model alone, then add one neighboring object only if it contributes something clear, such as a change in height, a related color or a personal connection.
Choose a background that separates the silhouette from its surroundings. A quiet wall or cabinet interior can make pale furniture, plants and small signs easier to see. If you add a removable backdrop, keep it outside the miniature and ensure it does not obstruct ventilation, controls or safe access.
Use height differences carefully. A stable display riser can help a smaller scene remain visible beside a taller one, but it must support the complete base and suit the weight. Do not balance a model on a narrow ornament or an unstable stack simply to create a layered photograph.
Related themes can connect a small collection. CUTEROOM Coffee Shop and Candy Shop can be approached as two separate shop scenes, with enough space between them to appreciate each interior. A Study Room display may feel natural near your own books or desk. Keep these connections simple so the actual miniature remains the focus.
Try removing an accessory before adding another. If the display feels busy, the problem may be competing outlines rather than a lack of decoration. A plain stretch of shelf can make an intricate model easier to read, especially from across the room.
Keep frequently handled objects in a separate zone. Keys, charging cables and daily stationery can turn a decorative shelf into a work surface, increasing the chance of accidental contact. A miniature near a desk should still have a defined area that is not used for temporary storage.
Choose a cover for fit and access
A well-fitting cover can reduce the amount of dust settling directly on a miniature and limit casual contact with small parts. Check whether one is included with your exact model, supplied separately or not offered. A cover shown in a photograph is not enough to establish what arrives in the package.
Measure the model at its widest and tallest points, including roof details and projecting decorations. Compare these with the cover's internal clearance, then compare the cover's outside dimensions with the shelf. Both measurements matter. A cover can fit the model and still fail to fit the intended cabinet.
Consider how the cover lifts or opens. A tall removable top needs clear space above it. A front-opening enclosure needs room for the panel or door. Rehearse the movement while the miniature is safely elsewhere, especially if the shelf is close to a wall or another display.
Look at reflections under ordinary room lighting. A clear panel may reflect a window or lamp directly over the scene. Slightly changing the shelf position or the external light angle may improve visibility without altering the model. Keep any change within a stable, fully supported arrangement.
Follow the cover manufacturer's cleaning instructions. Clear materials differ, and an unsuitable cleaner or rough cloth can leave scratches or cloudiness. Remove the cover from the model before cleaning when its design allows, and let it dry fully before returning it. Do not spray cleaning liquid over an assembled miniature.
A cover is one part of a display plan. It does not make a model waterproof, suitable for a hot windowsill or safe to handle by the roof. Continue to choose an appropriate location and lift the model using its stable support.
Manage daylight and room conditions
Choose a position away from direct sunlight and strong heat. Printed paper and wood finishes can change with prolonged light exposure. The Canadian Conservation Institute's guidance for works on paper explains that light-related fading is irreversible. For a mixed-material miniature, avoiding a sunny window is a sensible preventive choice.
Check the location at different times of day. A shelf that looks shaded in the morning may receive direct afternoon sun. Blinds or curtains can help manage the room, but choose a position that does not depend on remembering a daily adjustment whenever possible.
Avoid placing the scene beside a radiator, above a heat vent or in a spot exposed to frequent moisture. The Canadian Conservation Institute's wood-care guidance describes how wood responds to changing humidity and recommends stable surroundings. This is general material-care background, not a claim that a hobby kit has museum conservation specifications.
Practical household habits matter. Keep watering cans and plant pots away from the model's immediate area, and do not use the shelf as a place to set a damp glass. If the scene is near a houseplant, make sure watering and pruning can happen without reaching over the miniature.
For built-in lighting, follow the kit's directions and use only the specified power source. Keep controls accessible, switch lights off when appropriate and do not add improvised electrical features inside a cover. Decorative lighting should remain easy to use without becoming a reason to handle the model constantly.
Plan a gentle care routine
Begin any cleaning session by looking closely for loose parts. If a small plant, sign or furniture detail has detached, collect it in a labeled container before moving the model. Do not brush across a fragile area simply because the rest of the shelf needs dusting.
Clean the surrounding shelf separately, with the miniature safely removed if you can move it without difficulty. Let the surface dry before returning the model. Household sprays should not drift onto paper accessories, transparent panels or electrical components.
For accessible, sound surfaces where the kit permits it, a clean, very soft brush used with minimal pressure may help lift loose dust. Stop if a part moves or the finish looks fragile. Do not use compressed air, a vacuum nozzle or a wet cloth directly on tiny glued details as a general cleaning shortcut.
Keep a dedicated cleaning tool separate from tools used for glue or paint. Residue on a brush can turn a light dusting into a stain. Store it clean and inspect it before use. A routine should be simple enough that you can follow it carefully rather than reaching for whatever happens to be nearby.
Decide how often to inspect the display based on the actual room. An open shelf near daily activity may collect dust differently from a closed cabinet. Look for visible dust and loose components rather than following a rigid schedule that encourages unnecessary handling.
| Area | What to look for | A sensible response |
|---|---|---|
| Base | Full support and a stable, level position | Clear the shelf and reposition from underneath |
| Nearby objects | Books or ornaments pressing on the model | Create space and use independent book supports |
| Cover | Dust, marks and room to remove it safely | Clean separately using its manufacturer's directions |
| Small details | Loose pieces or areas too delicate to brush | Pause cleaning and identify the relevant assembly step |
| Lighting access | Reachable controls and unobstructed compartments | Adjust the shelf arrangement without changing wiring |
| Location | Direct sun, splashes or heat from nearby equipment | Move the display to a more suitable stable position |
Photograph the model clearly
Use a stable surface and clean the camera lens before you begin. Position the camera near the scene's main viewing angle, then check the edges of the frame. A background full of everyday clutter can distract from a careful build, while a simple backdrop makes its shape easier to understand.
Try soft, indirect room light first. Move an external lamp rather than repeatedly moving the model, keeping the lamp safely separated from the scene. Watch for glare on clear panels and bright reflections that hide interior details. A small change in angle can help more than increasing the overall brightness.
Take one photograph of the complete model and several closer views of meaningful details. The wide view records the composition; the close views show the work. Include the base in at least one image so the model does not appear to float or lose its architectural shape through a tight crop.
For an illuminated scene, photograph it both with and without its own lights on. A completely dark room can make the brightest areas lose detail while the rest disappears. Try retaining some gentle surrounding light so the camera can record the construction as well as the glow.
Use the camera's focus control on the part you want viewers to notice. If the nearest object is sharp and everything behind it is soft, a slightly more distant camera position may give a clearer overall scene. Avoid excessive digital zoom; crop modestly only after you have a sharp original.
Keep color editing restrained. Adjusting a photograph so it resembles what you see is different from changing the model's colors or adding lights that are not there. If you share a customized build, describe the changes plainly so another maker can distinguish your choices from the kit's pictured arrangement.
Move a finished miniature with a plan
Clear the destination before lifting the model. Open doors, remove obstacles and decide where your hands will support the base. Carrying a delicate scene while searching for a place to put it down makes an otherwise simple move unnecessarily awkward.
Inspect for loose components and allow recent repairs to finish drying according to the adhesive instructions. Remove a separate cover first if that is the safe method for its design. Never assume the cover is a carrying handle or that it is securely attached to the base.
Use both hands where practical and support the strongest stable part. Keep the model upright unless its instructions specifically indicate otherwise. Avoid gripping decorative walls, roofs, plants, signs or small furniture. If the object is too awkward to handle confidently, ask another person to help with the clear route and destination.
For a journey, use a container that supports the base and prevents movement without pressing packing material into delicate details. An empty space around a projecting part can be safer than stuffing padding tightly against it. Assess the actual shape before choosing packing; there is no single arrangement suitable for every miniature.
Keep the instructions, spare components and any intended removable parts together in labeled packaging. Photograph the model before transport so you have a record of the arrangement. Follow the power-source instructions for storage or travel, and keep loose batteries protected and separate from metal objects.
If the scene is a gift, include simple handling information. Show the recipient where to lift it, how to remove any cover and where the lighting controls are. A short explanation prevents well-intentioned handling from becoming the first problem in its new home.
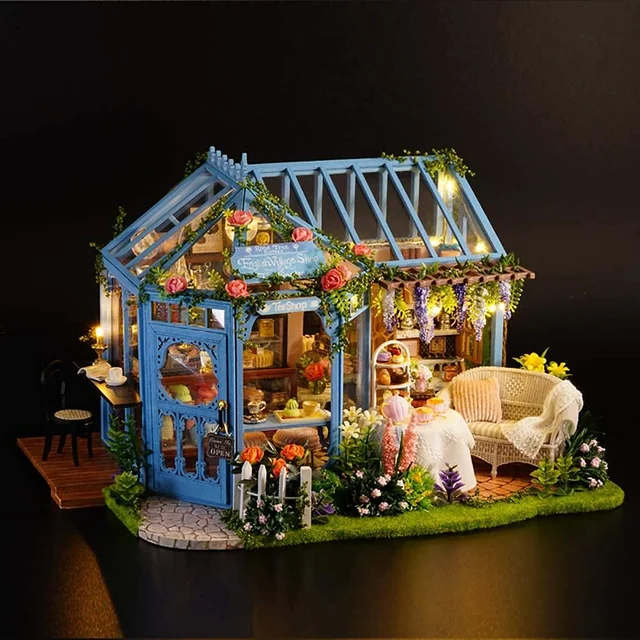
Rotate a collection without losing track of parts
If you enjoy several miniature themes, rotating a few displays can keep a room from feeling crowded. Choose a manageable number to show at once and store the others in a stable indoor place. Do not stack complete models on top of one another, even if their outer boxes appear to fit.
Give each model a clear label and keep its instructions with its spare components. A small container of unidentified books, plants and connectors becomes confusing quickly when several kits are involved. Record which items were deliberately left removable so they are not mistaken for broken parts later.
Photograph the scene before putting it away. This is particularly useful if you have customized the arrangement or added separate display props. Keep props clearly distinguished from the kit itself, both in storage and in any notes you pass to another person.
Use a rotation as an opportunity to inspect, not to perform unnecessary repairs. Check the base, visible joins and control access. If everything is sound, return the model to its protected place. More frequent handling does not automatically mean better care.
When choosing the next build, consider how it will join the collection. A different height or format can create variety without demanding a larger shelf. Our miniature kit selection guide includes a practical way to compare finished size and the making process before you commit.
Keep the display easy to enjoy
A good arrangement should let you notice the scene during ordinary life. If it requires repeated moving, blocks books you use daily or hides its best details, change the placement. The display does not have to resemble a product photograph to work well in your home.
Choose one improvement at a time. Move a competing ornament, adjust the viewing height or create clearer access to the switch. Look at the result from your normal seat before making another change. This keeps the arrangement connected to how you use the room rather than to a series of increasingly elaborate styling ideas.
If a detail needs repair, return to the exact assembly instructions and work in a clear space. Our assembly guide explains dry fitting, adhesive control and stopping points, while assembly help lists the information to gather for a model-specific question.
Leave the final scene with enough room around it to see the small choices you made during the build: the position of a chair, a tiny book, a shop counter or a carefully aligned window. Those details are the reason to display the model, and a clear, accessible setting gives them a lasting place in your room.